水彩绘画教程一步一步的画像
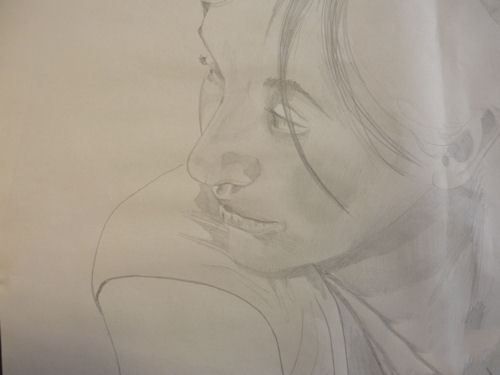
新闻纸的借鉴,我做了一些阴影,不是必需的,但帮助我更好地理解3 D的脸。
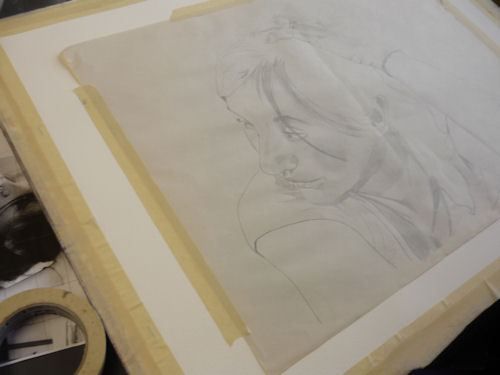
在阴影了我的纸和木炭和石墨,我就把它贴在我的水彩画纸。
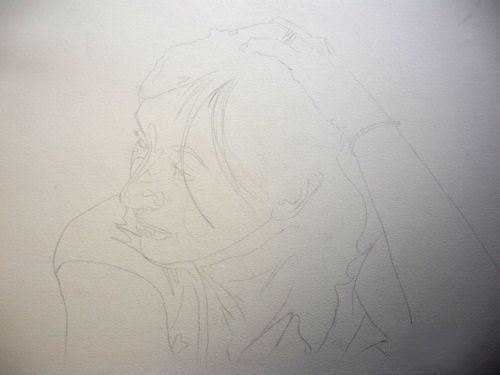
在我的水彩画纸,我只是把主要的轮廓。我保留一些区域掩蔽流体。
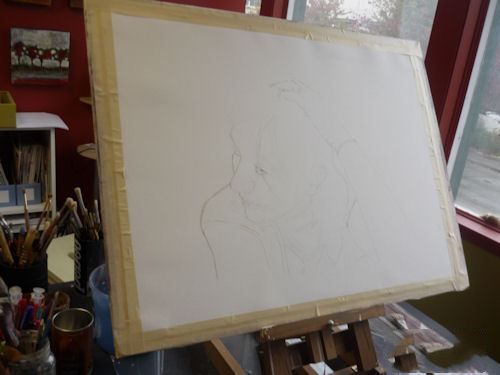
我开始使用我的董事会在相当一个陡峭的角度所以漆就下去滴
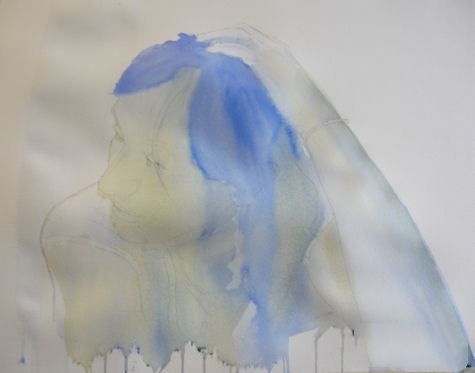
我的第一层是蓝色的阴影和黄色区域在较轻的地区,我没有太多控制油漆在这个阶段。
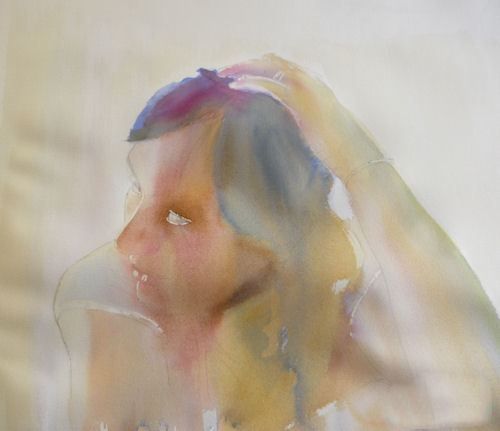
一旦这些第一层是干燥的,我开始增加更多的层,将一些紫色和橙色
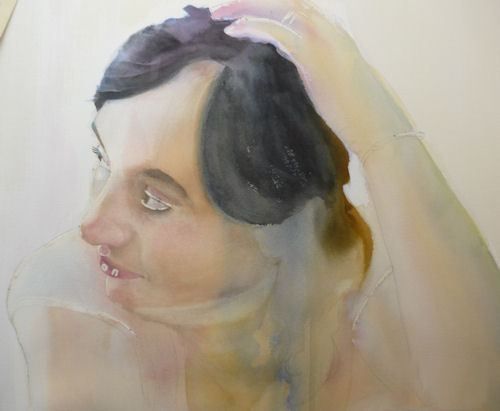
我开始工作在头发上和功能,添加一些掉漆和擦洗。

我擦洗很多油漆脱落,露出更多的光区。
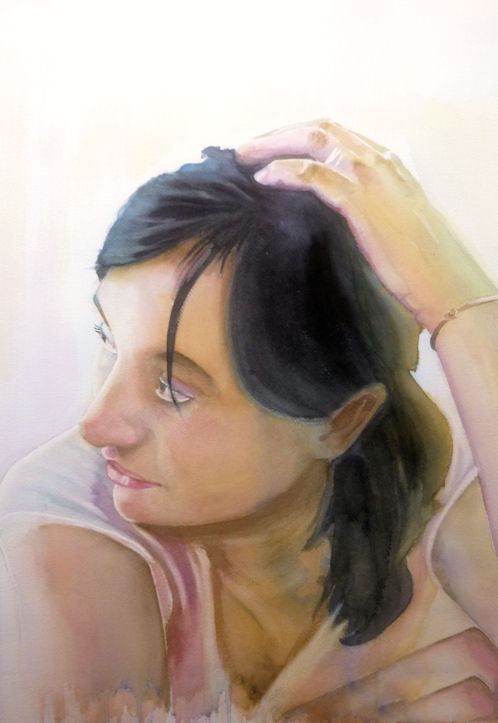
完成的画
原文如下:
In the studio, watercolor portrait step by step painting tutorial
The drawing on newsprint, I did some shading that is not necessary but helps me better understand the face in 3 D.
After shading the back of my paper with charcoal and graphite, I taped it on my watercolor paper.
On my watercolor paper, I just kept the main outlines. I reserve some areas with masking fluid.
I start working with my board at quite a steep angle so the paint will go down and drip
My first layers are blue in the areas in shade and yellow in lighter areas, I don’t have much control on the paint at this stage.
Once those first layers are dried, I start to add more layers, incorporating some purples and orange
I start working on the hair and the features, adding paint and scrubbing some off.
I scrub a lot of paint off, revealing more light areas.
The finished painting


