Deziel Brandi丙烯画的方法——一层又一层
以下是一个一步一步看看我层丙烯酸涂料。它不是一个正确的方式或者一个错误的方式,只是我怎么做它。过程已经发展了几年,也将继续演化我生长在我的绘画事业。它不去详细说明笔触或颜色/材料我使用,但是是为了展示我实现我的混合和最后的光度在我的工作。这一切开始之前,我已经建立了一个静物组成(这在一个特定的设置在我的卧室的地板上),然后我从不同角度拍摄它使用各种照明技术。,然后走进我的计算机,我想出了一个作文借鉴。享受。
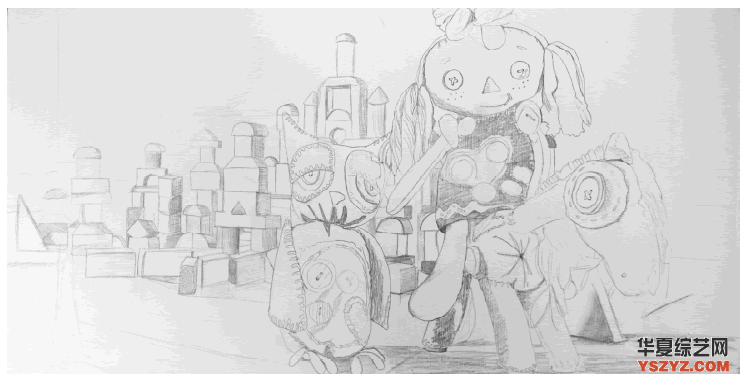
我开始画线。我做这直在黑板上。我不让它详细或精制我将完成铅笔绘画,但它足以给我形状和基本的深色和灯。
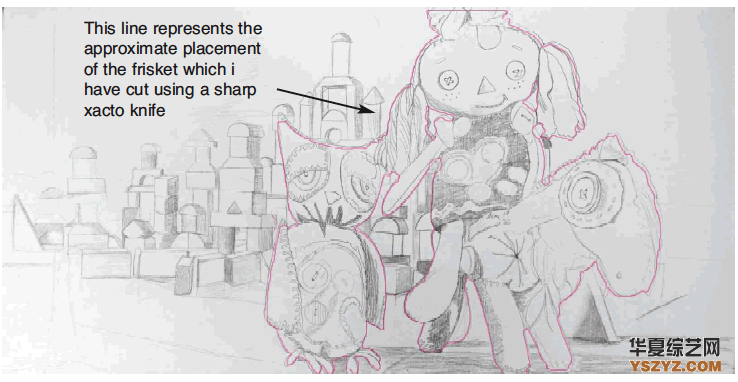
对于这个特殊的画我用固定架(明确遮蔽纸稍微粘合底布)来屏蔽前台人物。这种技术,通常受雇于喷枪艺术家,是一些我最近才开始。它让我混合我的背景在我的前景,同时保持前台清洁。后这将有助于给人的印象,后面的背景是前景和不对接起来反对它。
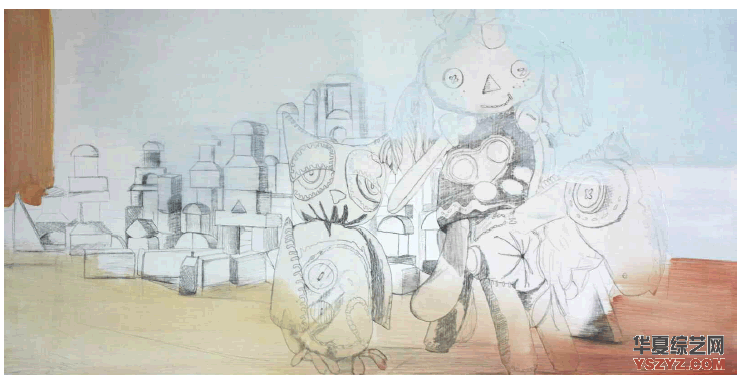
接下来我应用光洗最著名的颜色。我不太担心会整理这里因为仍有许多层漆来。油漆是薄和水在这个阶段。不需要添加任何混合流体的油漆然而。我希望它干的很快,我可以移动到下一层。
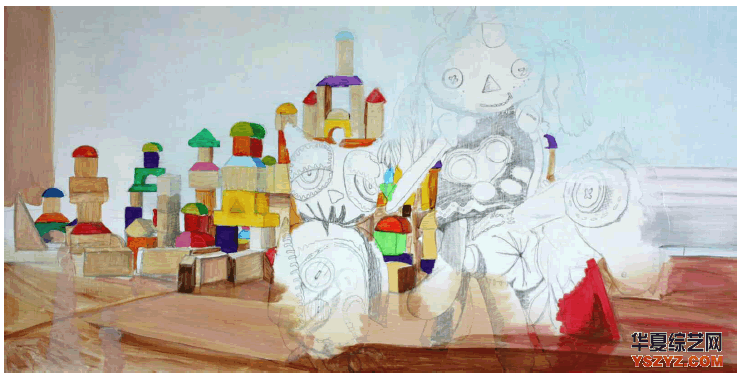
这里我开始迅速阻断的背景颜色。仍然保持漆光和水和不太担心细节。
现在,我知道我的大部分背景颜色去,我开始使用重层油漆。我添加物资货柜干燥混合介质来启动平滑的事情更多。我还不担心前景在这一点上。它是固定架的保护。
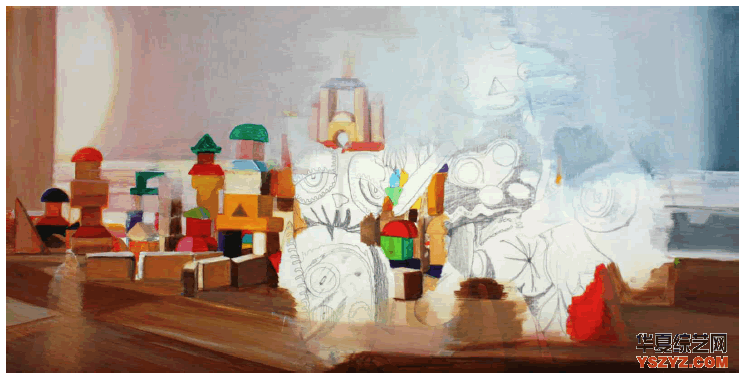
这里更多层次的油漆。我已经回来,填补了街区,我当混合远背景覆盖在最后一层。我开始把一些反射到地板和定义黑暗与光明领域更多。
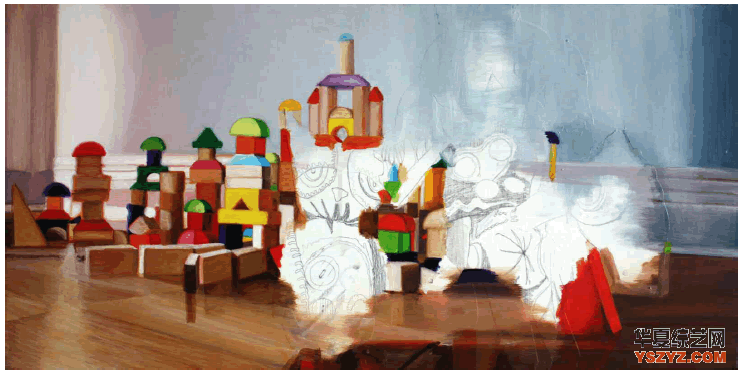
与背景主要是完成它是时候删除面具。这显示了如何固定架使区域的清洁。
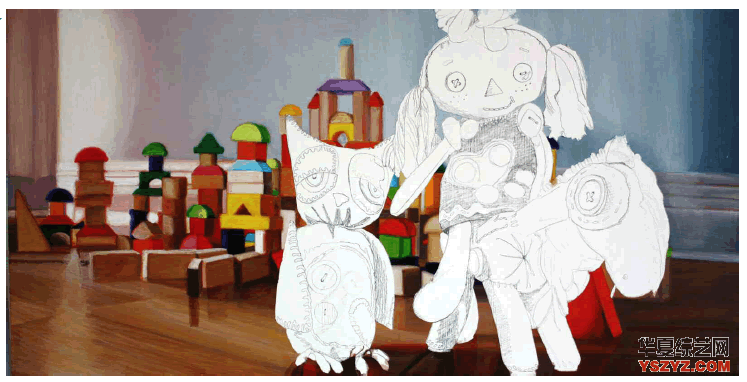
我基本上要重复分层的前景现在。唯一不同的是我要用更多的控制笔触和开始创建保鲜储藏格边缘和细线。我从光洗的颜色。
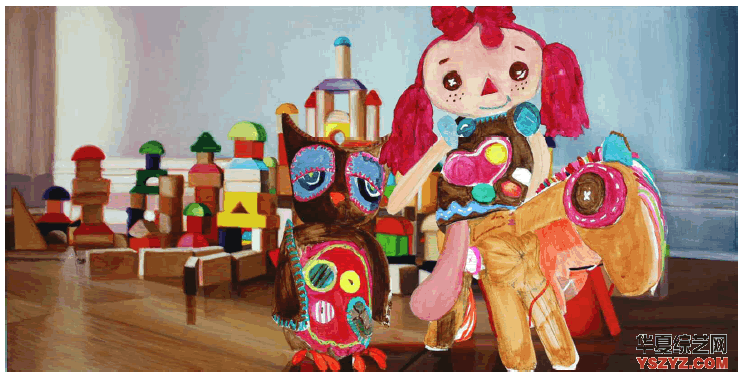
这里的前景是在不同阶段的完整性。从娃娃的脸几乎是完成马匹头,只有一两层油漆。我已经在以白色和重新创建一些马鬃毛。这将帮助明亮的颜色去清洁和脱颖而出。我还添加了一个黄釉层的背景来改变照明略。
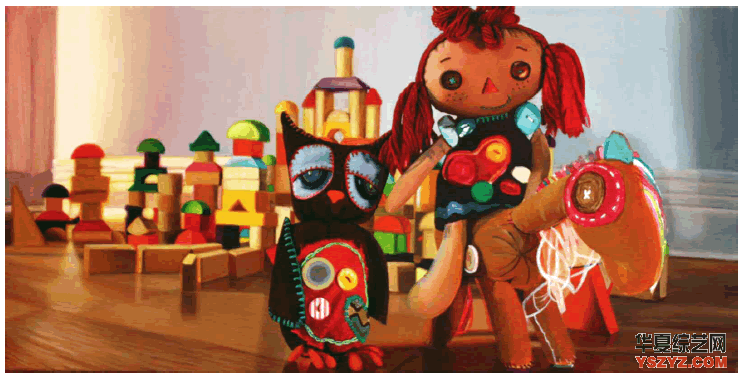
这是完成的画!
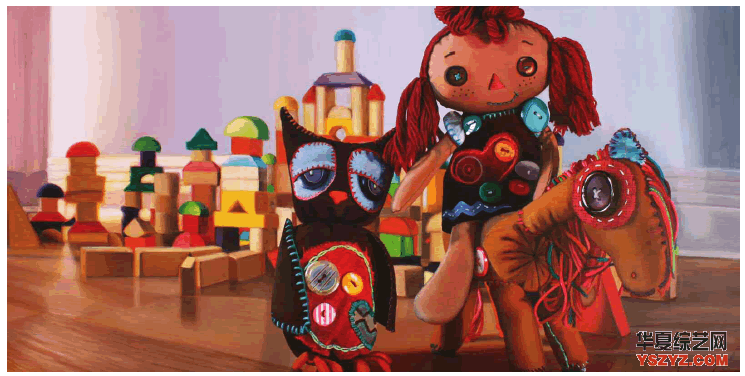
这是它!希望它给你一个主意我实现我最后的绘画。
原文如下:
Brandi Deziel’s Acrylic Painting Method – Layer by Layer
The following is a step by step look at how I layer acrylic paint. Its not a right way or a wrong way, its just how I do it. The process has evolved over a few years and will continue to evolve as I grow in my painting career. It doesn’t go into detail about brush strokes or the colors/materials I use, but is meant to show how I achieve my blending and final luminosity in my work. Before all of this begins, I have set up a still life composition (this one in particular was set up on my bedroom floor) and then I photograph it from various angles using various lighting techniques. That all then goes into my computer and I come up with a composition to draw from. Enjoy.
I start with a line drawing. I do this straight on the board. I don’t make it as detailed or refined as I would a finished pencil drawing, but its enough to give me the shapes and the basic darks and lights.
For this particular painting I used frisket (clear masking paper with a slightly adhesive backing) to mask off the foreground characters. This technique, usually employed by air brush artists, is something I’ve only started recently. It allows me to blend my background over my foreground while keeping the foreground clean. Later this will help give the impression that the background is behind the foreground and not butting up against it.
Next I apply light washes of the most prominent colors. I don’t worry too much about being tidy here since there are still lots of layers of paint to come. The paint is thin and watery at this stage. No need to add any blending fluid to the paint yet. I want it to dry quickly so that I can move onto the next layer.
Here I’ve started quickly blocking in the background colors. Still keeping the paint light and watery and not worrying too much about details.
Now that I know where most of my background colors go, I start using heavier layers of paint. I add slo-dry blending medium here to start smoothing things out more. I’m still not worrying about the foreground at this point. It is protected by the frisket.
More layers of paint here. I’ve gone back and filled in the blocks that I covered when blending the far background in the last layer. I’m starting to put some of the reflections into the floor and define the dark and light areas more.
With the background mostly complete it is time to remove the mask. This shows how the frisket keeps the area clean.
I’m basically going to repeat the layering for the foreground now. The only difference is I’m going to use more controlled brush strokes and start creating crisper edges and finer lines. I start with a light wash of colors.
Here the foreground is in various stages of completeness. From the doll’s face being nearly completed to the horses head which only has a couple of layers of paint on. I’ve gone in with white and recreated some of the horses mane. This will help the bright colors go on clean and stand out. I’ve also added a yellowish glaze layer to the background to alter the lighting slightly.
Here is the finished painting!
That’s it! Hopefully it gives you an idea of how I achieve my final painting.


