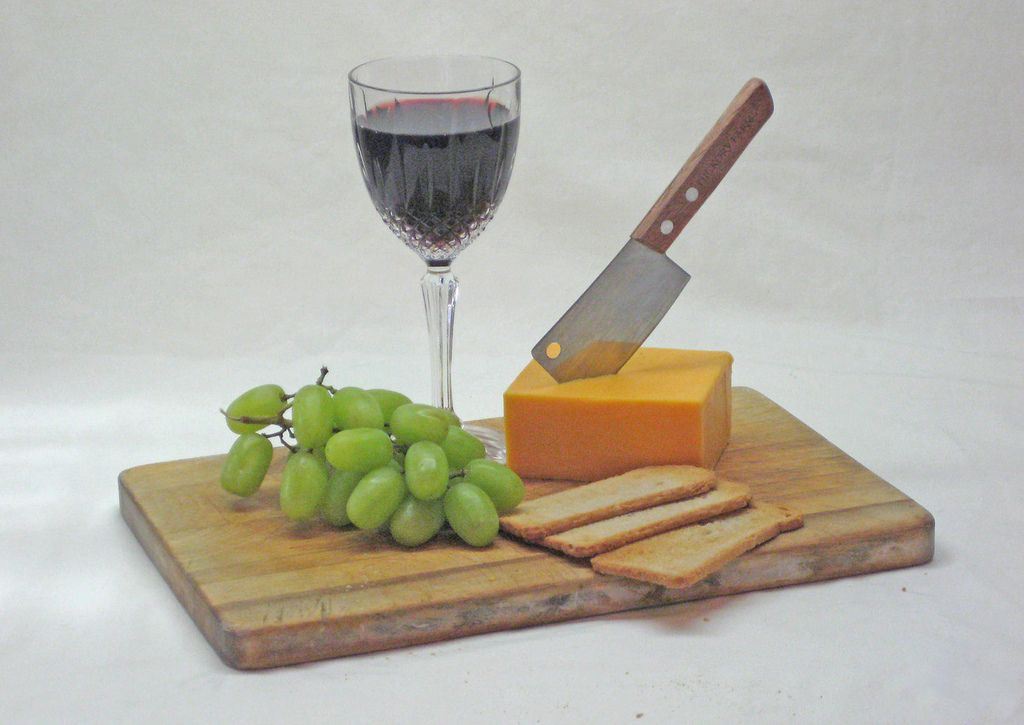
我在水彩绘画初学者的类是一个静物之前做解决景观。这种高调的照片在我的工作室成立,以避免做背景的必要性——从未清洗易事绝对初学者。这些静物项目已经练习一些水彩画技法:颜色混合,湿在湿、干刷,湿在干,失去棱角,液体掩蔽,色彩起重、刷灵巧,和一般的感觉的颜色在纸上如何行为在一个范围的情况下。每个学生工作从5“×7”打印,再加上我的最初的绘画主题的全尺寸:8“×6”。我给他们每个阶段在一个大型flat-sceen电视,和重绘本作为一种循序渐进的示范。
步骤1
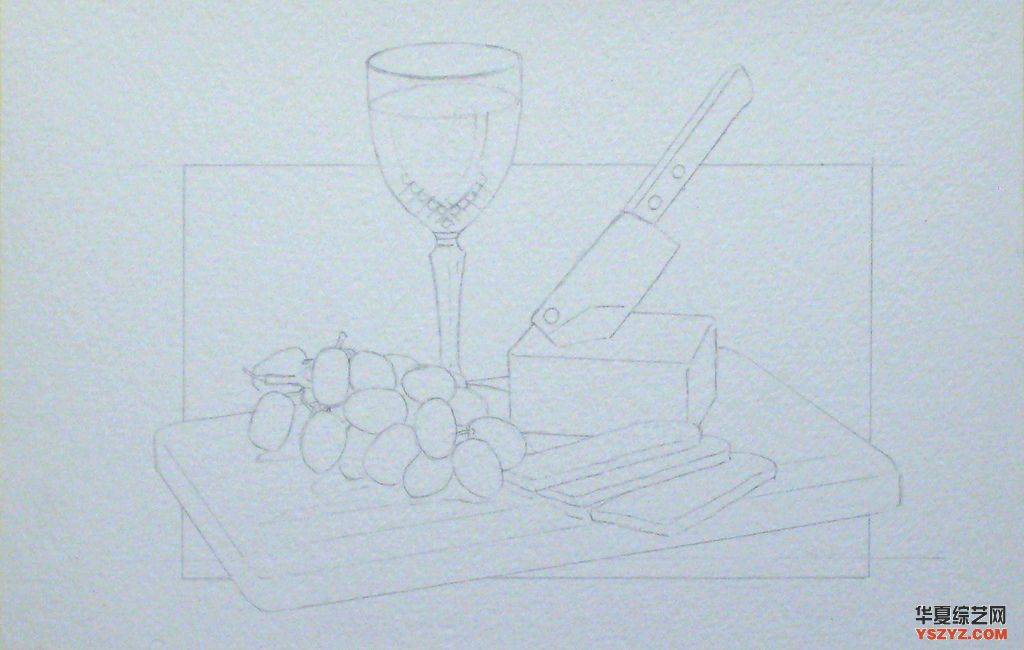
我总是让他们准备认真借鉴300磅纸为“作业”保存,确保我们所有的上课时间开始在同一水平上。
步骤2
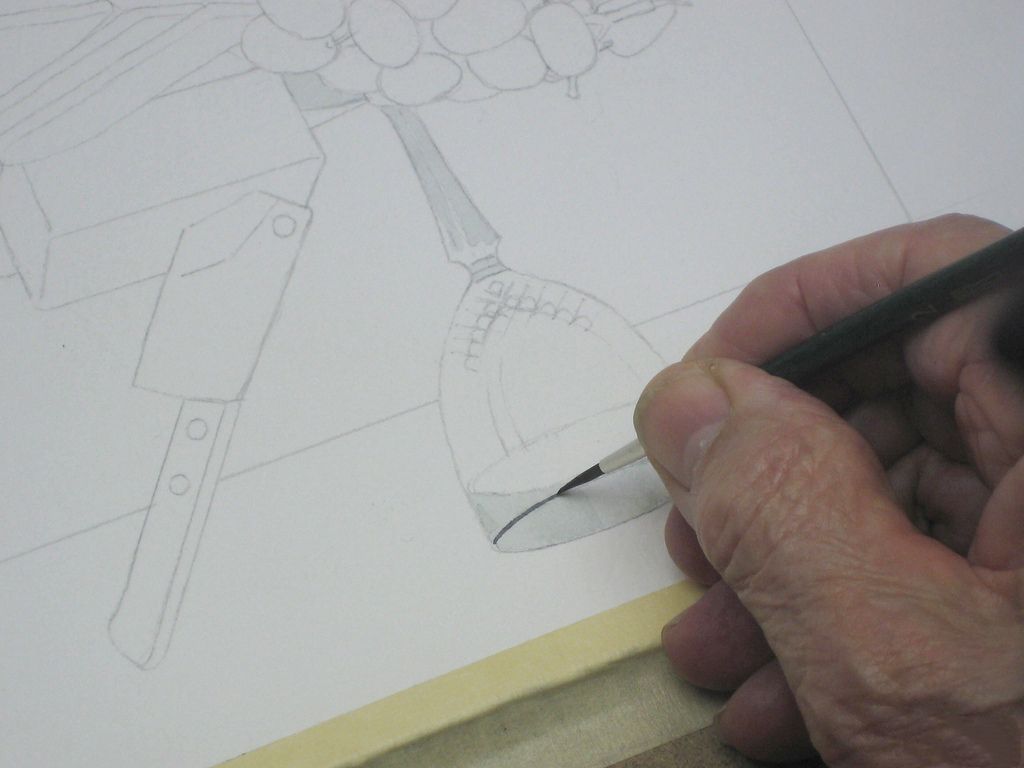
提高刷灵巧,并帮助我们的孤独的左撇子的学生,我鼓励他们把板端向上帮助漆或着画出曲面物体如这玻璃。在这里我已经映射在基本玻璃“颜色”由一个光洗的安特卫普蓝色和棕色茜草,深色的边缘由一个更强大的混合这两种颜色。更多关于绘画玻璃看到我的网站:
watercoloursforfun.com/Glass/TechniquesGlass.html我们的工作从有限的调色板和我避免讲授色彩理论对初学者,因为这意味着小直到他们真正处理颜色在实际情况中。通过使用少量的液体掩蔽作画之前在玻璃上,他们开始学习魔法的白皮书。之后,他们常常可以省掉这与消极的绘画技巧。
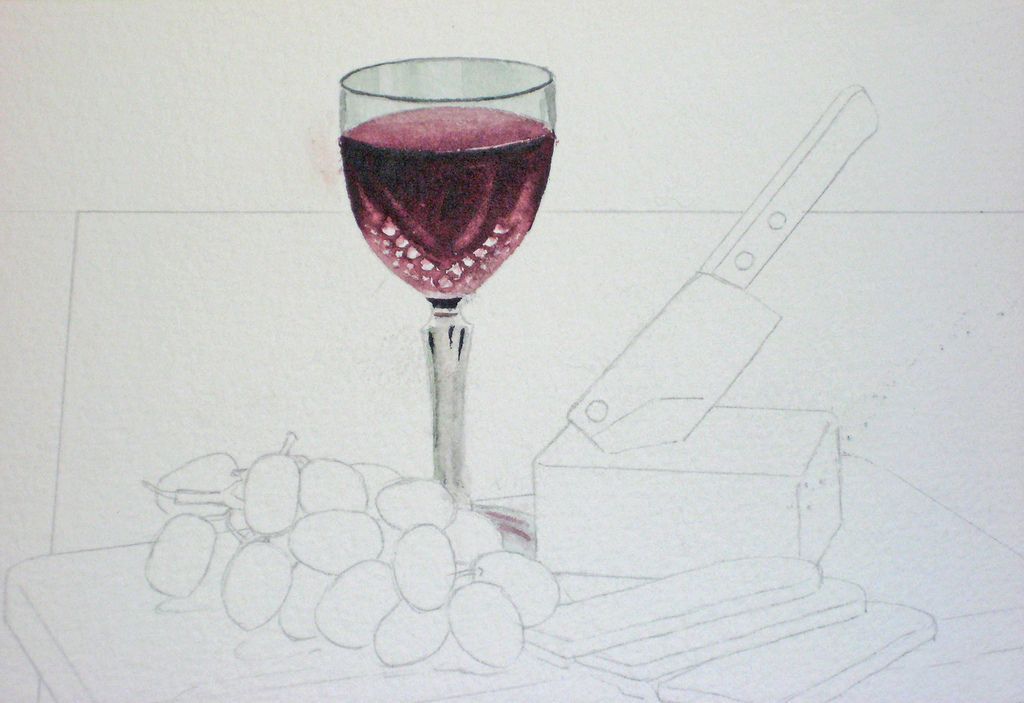
葡萄酒是画在混合使用大红、阴影或深色的安特卫普混合蓝色和棕色茜草,工作从光暗。使用一个小板刷、水和面部组织,电梯出了一些反映灯。然后删除屏蔽和进一步混合完成这个阶段。
刀和奶酪块上画下,刀处理的混合原料,烧棕土,黄土加我们的标准的阴影混合蓝色和棕色茜草安特卫普。奶酪块是镉黄深、镉红和一个触摸的棕色茜草。刀片是一个混合的深蓝色和触摸我们阴影的颜色。
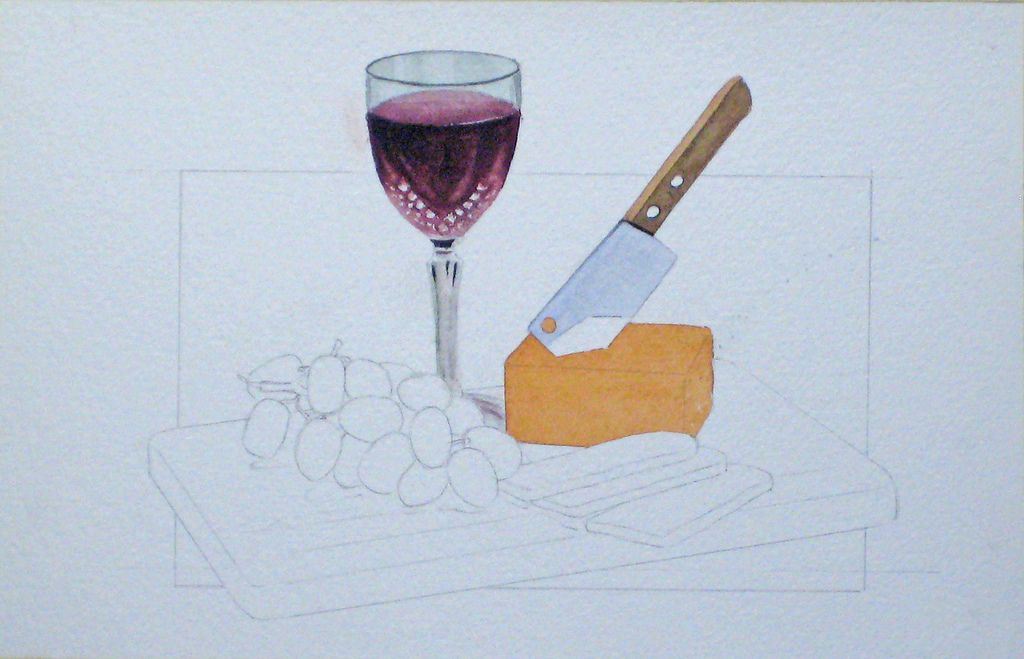
在这里我已经映射在梅尔巴土司片混合使用我们的奶酪色加上生黄土和布朗茜草。这部分是一个干刷技术。最后的阴影将离开直到砧板。顺便说一句,我爱梅尔巴烤面包,奶酪,葡萄和红酒,所以我用我的静物设置马上!
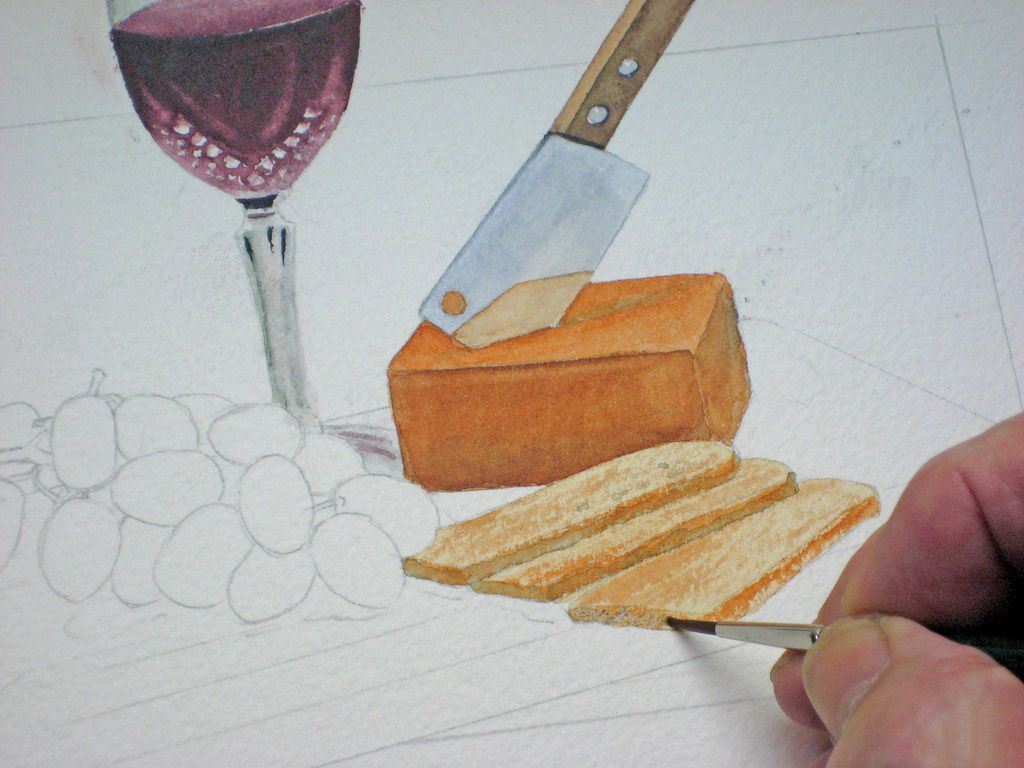
稍微修修补补的梅尔巴土司片用干刷技术再现纹理的表面。
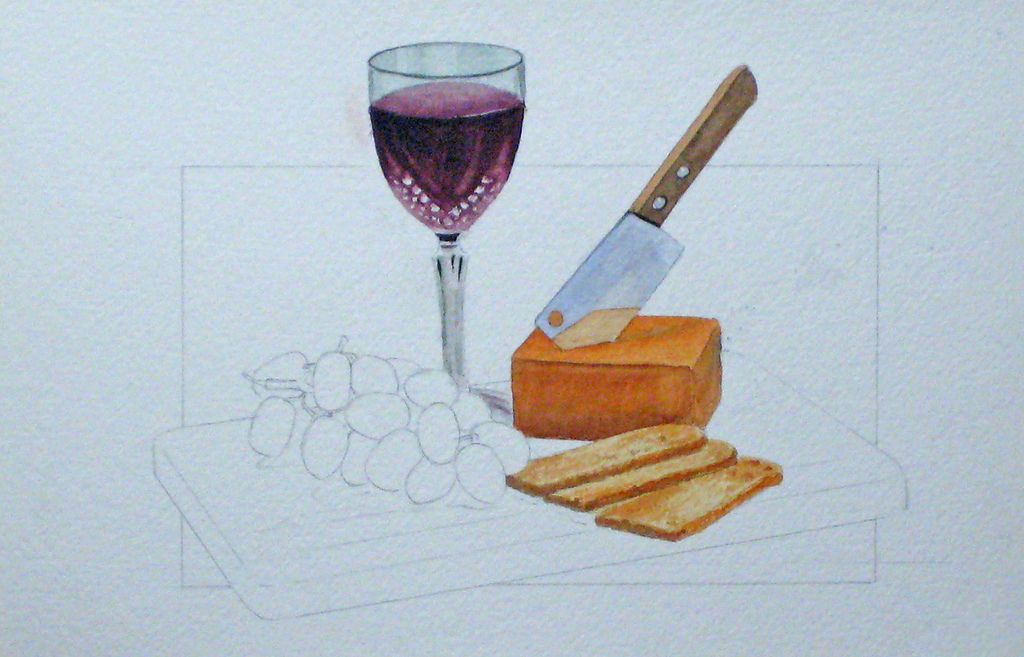
我在这里跳到前面一点,但是葡萄大多是Aureolin黄色和一个触摸的绿色颜料,用我们的影子颜色在需要的地方。光芒是通过民建联和电梯技术所示。
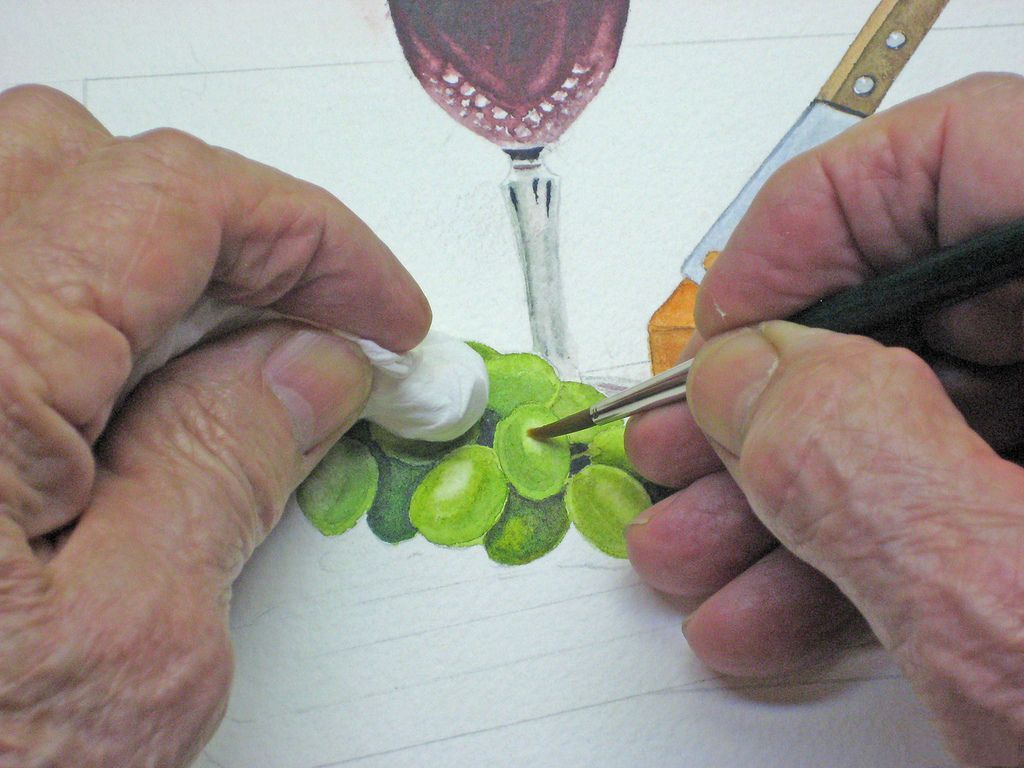
现在的菜板是粗暴的在用洗混合生黄土,布朗和一个触摸的茜草阴影颜色。
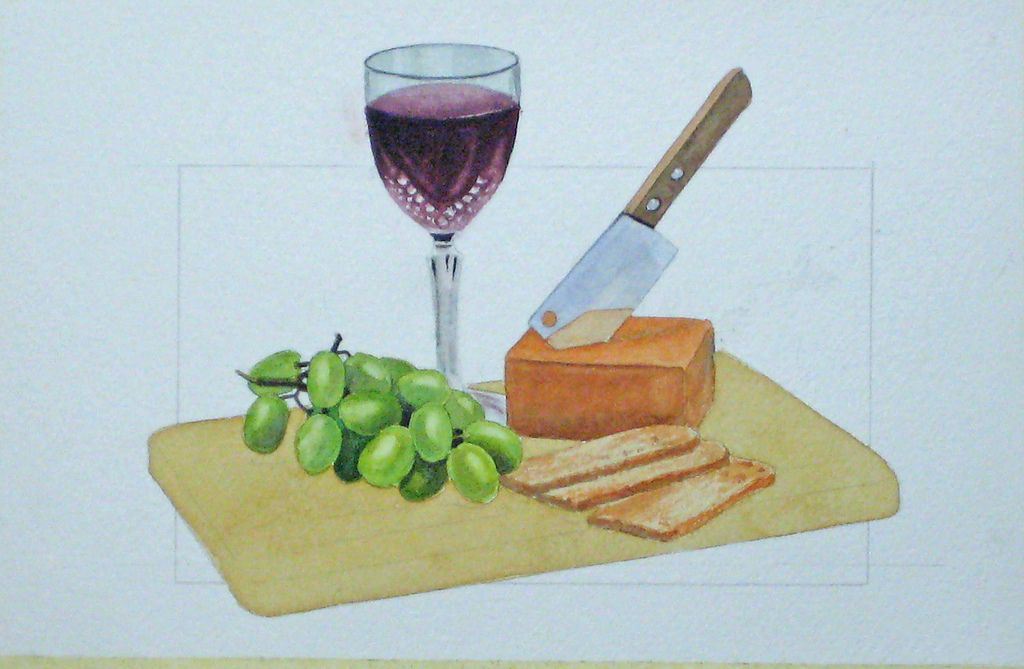
与边缘受到液体掩蔽各种谷物纹理和阴影,它使我们能够穿过油漆不是“漆”的其他元素。阴影仍来当然。所有的这些影响是一个混合的颜色已经在我们的调色板,一些用作干刷技术。然后最后的影子在与我们的基本的阴影颜色。
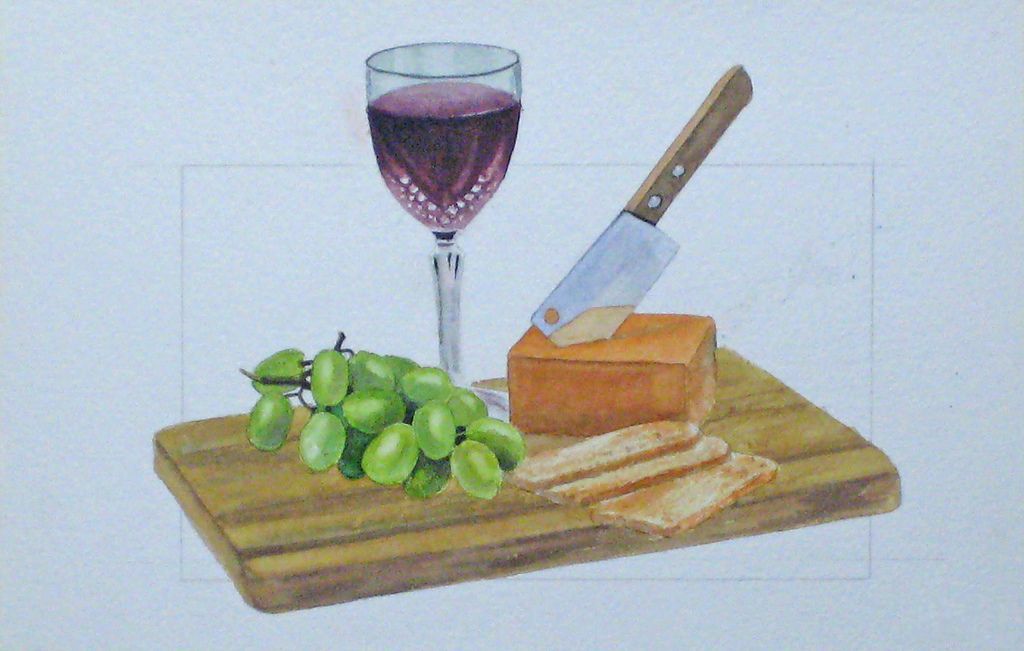
对于我的初学者更大胆,我提出一个“漆盒子之外”的完成一篇文章。为了填写背景,强大的阴影色我用绘图笔给我们一个直边四周。这需要几个强大的蓝色和棕色釉安特卫普茜草,所以执政的笔必须装有纯色。
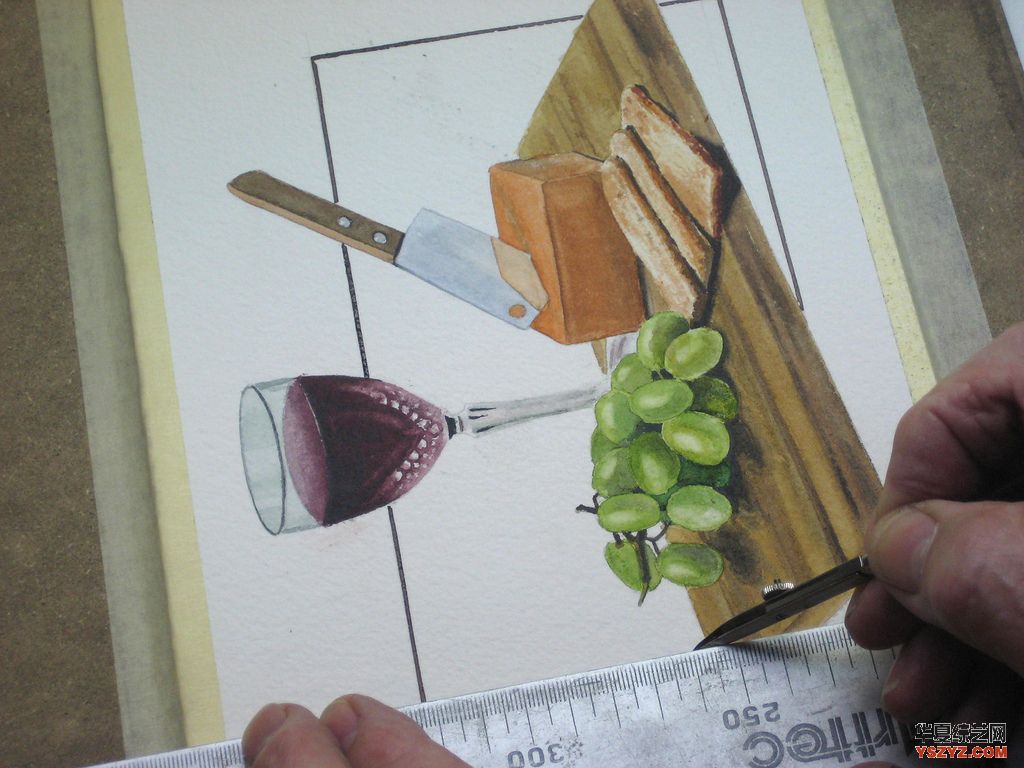
这可能会比较麻烦,是一个很好的锻炼在刷灵巧。将董事会的所有方式使刷你的工作是为初学者也很好经验。也很好玩,虽然一个走钢丝表演没有净!
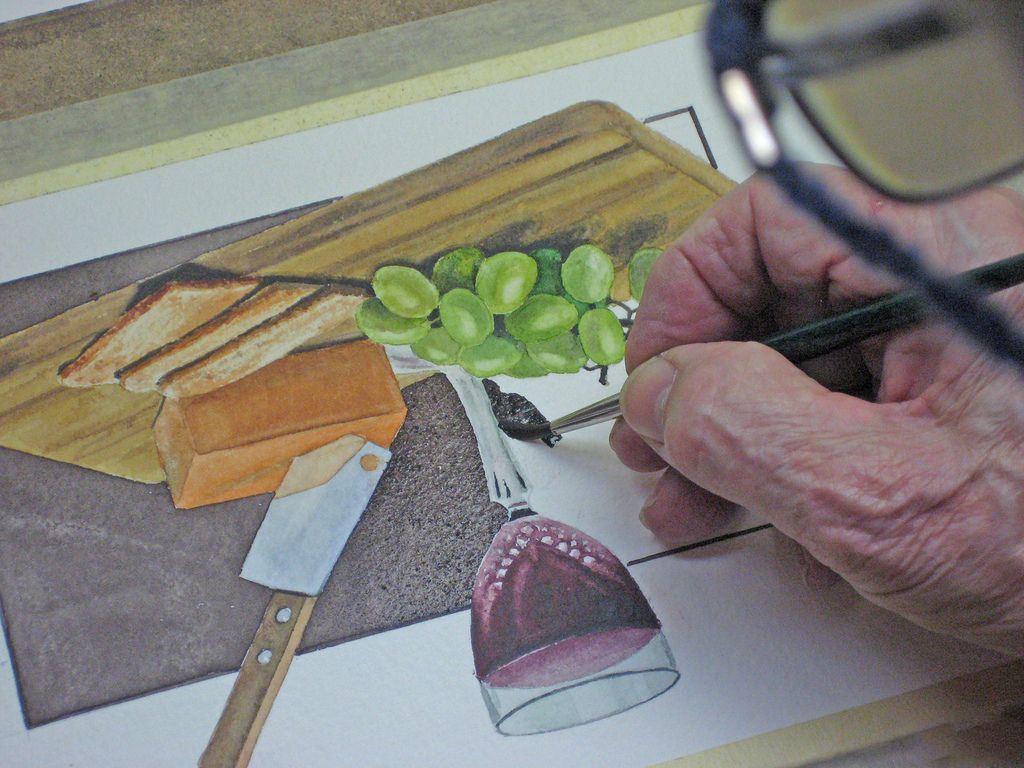
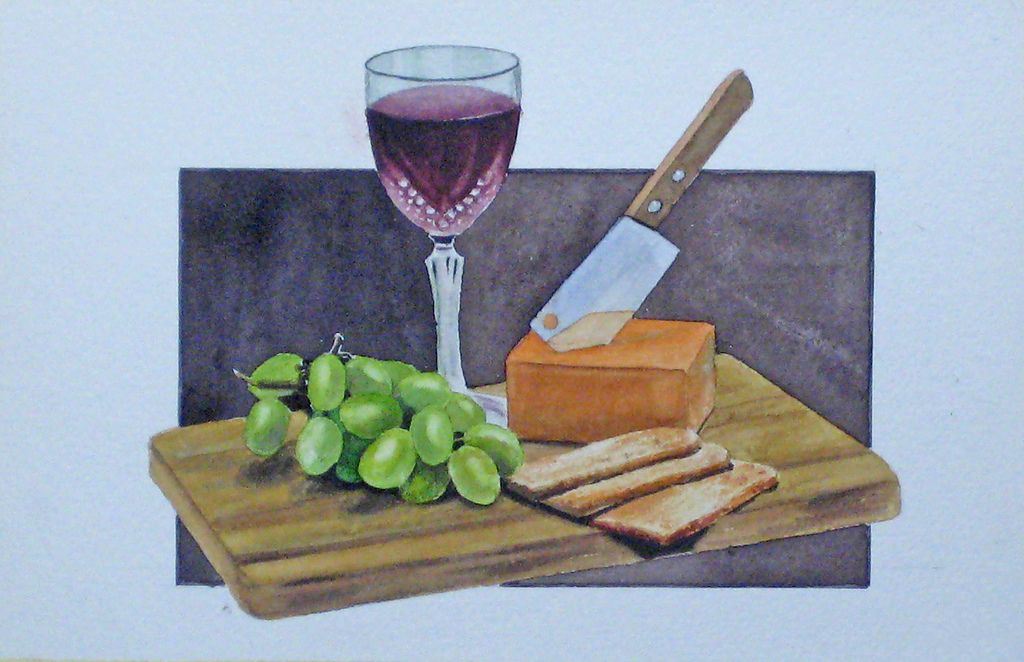
第一次洗可以不完善后续将覆盖这个洗。
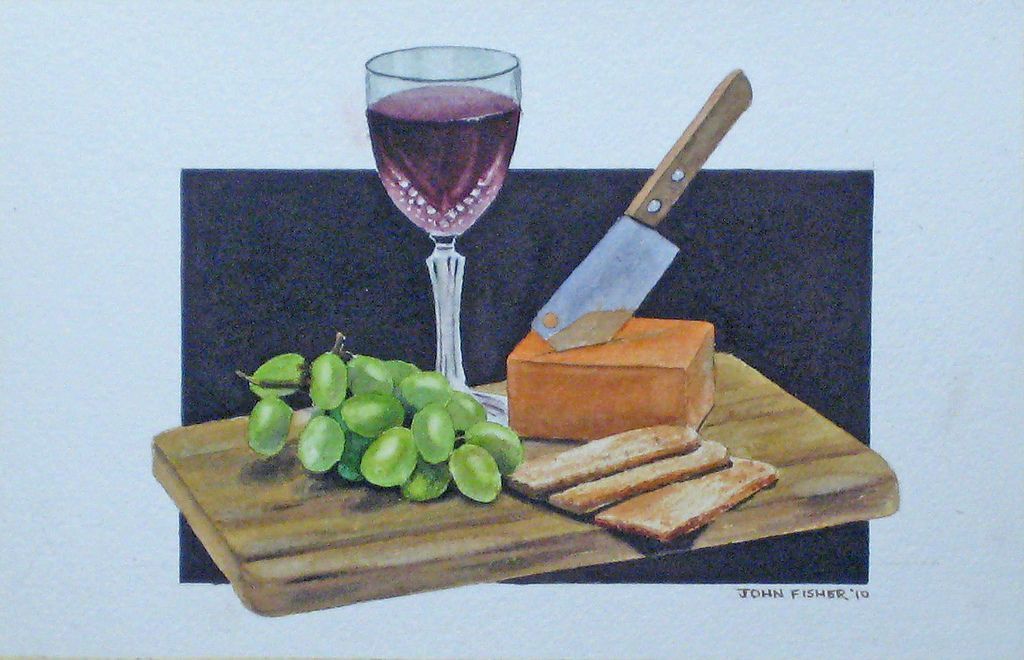
第三个洗完成这个项目,当纠结陷害,让一个漂亮的画挂在厨房。
原文如下:
My beginner’s class in watercolour painting is doing one more still life before tackling landscapes. This high-key photograph was set up in my studio to avoid the necessity of doing a background wash – never an easy task for absolute beginners. These still life projects have been exercises in a number of watercolour techniques: colour mixing, wet-in-wet, dry brush, wet-on-dry, loosing edges, liquid masking, colour lifting, brush dexterity, and the general feel of how colour acts on the paper under a range of circumstances. Each student worked from a 5″ x 7″ print, plus my initial painting of the subject full-sized: 8″ x 6″. I show them each stage on a large flat-sceen TV, and re-paint this as a step-by-step demonstration.
Step 1
I always have them prepare a careful drawing on 300 lb paper as “homework” to save class time and ensure we all start at the same level.
Step 2
To enhance brush dexterity, and to help our lone left-handed student, I encourage them to turn their board up side down to help paint or draw around curved objects such as this glass. Here I’ve mapped in the basic glass “colour” made from a light wash of Antwerp Blue and Brown Madder, with the darker rim made from a much stronger mixture of these two colours. For more on painting glass see my site at:
watercoloursforfun.com/Glass/TechniquesGlass.html We work from a limited palette and I avoid giving lectures on colour theory to beginners as it means little until they have actually handled colours in a real-world situation. By using a small amount of liquid masking before painting in the glass they begin to learn the magic of white paper. Later, they can often dispense with this with negative painting techniques.
Step 3
The wine was painted in using a mixture of Alizarin Crimson and a shadow or darker mix of Antwerp Blue and Brown Madder, working from light to dark. The use of a small scrub brush, water and facial tissue, lifts out the some reflected lights. Then the masking is removed and further blending to complete this stage.
Step 4
The knife and cheese block were painted in next, with the knife handle a mixture of Raw Sienna and Burnt Umber, plus our standard shadow mix of Antwerp Blue and Brown Madder. The cheese block was Cadmium Yellow Deep, Cadmium Red and a touch of Brown Madder. The blade was a mixture of Ultramarine Blue and a touch of our shadow colour.
Step 5
Here I’ve mapped in the Melba Toast slices using a mixture of our cheese colour plus Raw Sienna and Brown Madder. Part of this was a dry brush technique. The final shadows will be left until the cutting board is in. Incidentally, I love Melba Toast, cheese, grapes and red wine, so I made use of my still life set-up right away!
Step 6
A little more tinkering on the Melba Toast slices using a dry brush technique to reproduce the textured surfaces.
Step 7
I’ve jumped ahead here a bit, but the grapes were mostly Aureolin Yellow and a touch of Sap Green, with our shadow colour where needed. The shine is achieved by the dab and lift technique shown here.
Step 8
Now the cutting board is roughed in with a wash mixture of Raw Sienna, Brown Madder and a touch of our shadow colour.
Step 9
With the edges protected by liquid masking the various grain texture and shadows, it enables us to paint straight across and not “paint up” the the other elements. The shadows are still to come of course. All these effects are a mixture of the colours already in our palette, some used as a dry brush technique. Then the final shadows are out in with our basic shadow colour.
Step 10
For the more daring of my beginners I suggested a “paint outside the box” finish to this piece. In order to fill in the background with a strong shadow colour I used a ruling pen to give us a straight edge all around. This requires several strong glazes of Antwerp Blue and Brown Madder, so the ruling pen must be loaded with pure colour.
Step 11
This gets tricky and is a good exercise in brush dexterity. Turning the board all ways to make the brush work for you is also good experience for beginners. It’s also fun, although a high-wire act with no net!
Step 12
The first wash can be imperfect as subsequent washes will cover this up.
Final Step
The third wash completes this project, and when matted and framed, makes a nice painting to hang in the kitchen.


