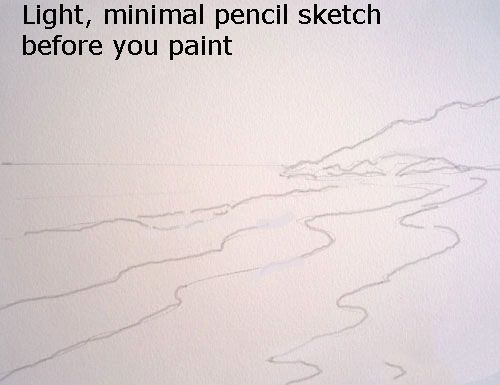
一位女士邮件要求海景示范在水彩画,所以这是我的努力。现在我在做这一个组合的什么可以做,什么不可以做,我用185 gsm纸在垫和不拉伸它!让我们看看它带来什么问题,看看我能找到出路…
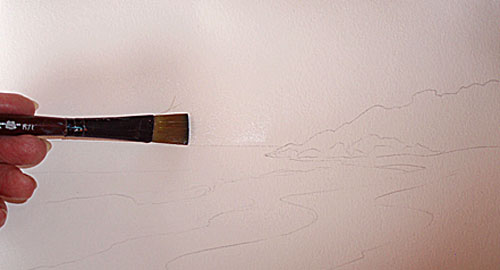
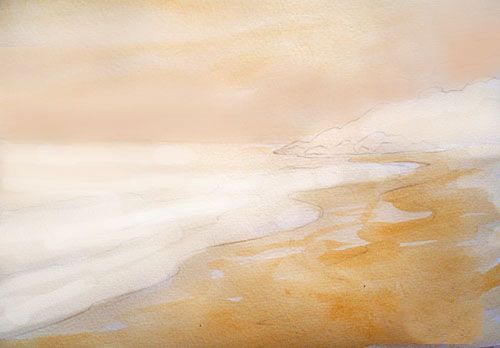
湿天空面积与普通清水准备申请一个洗。如果你不这样做你会有硬边你不想。
我决定申请一个热清洗的第一,以确保我保持一个阳光明媚的看…
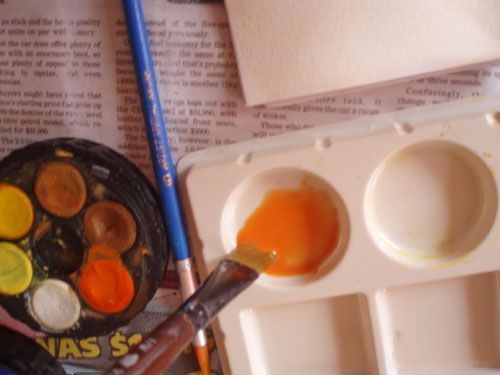
它看起来明亮在锅里,但它是如此的稀释,当我申请它颜色很软。
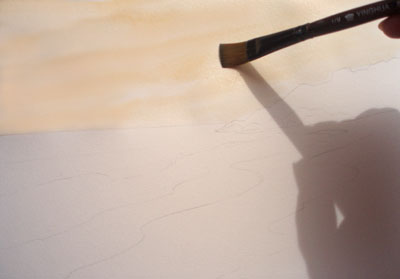
虽然我有这个颜色的方便,我把其应用于砂区,浓一点的,因为它是在前台和颜色总是更强大更接近你。

哦哦——纸是屈曲有点所以我把少量的洗水和岩石的嫁给了天空,海滩和尽量均匀的湿和干燥的地方在纸上。
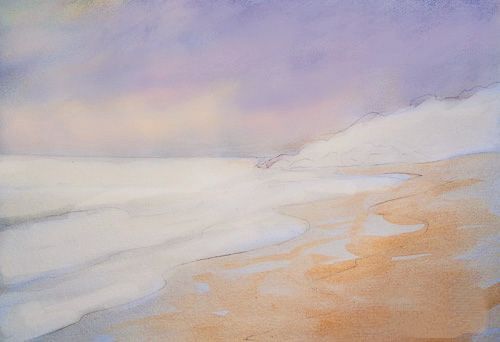
接下来我混个浅紫色洗天空,轻轻敷于在软橙。第一次洗需要彻底干做这之前。
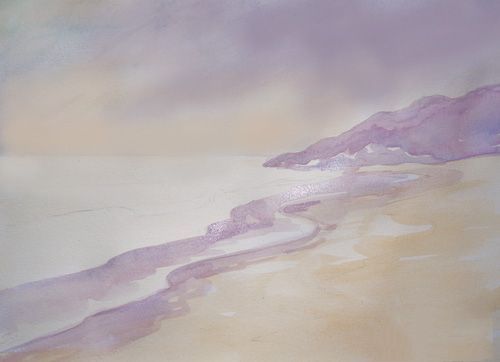
再次,虽然我有这个颜色在锅里,我加深一点(我把红色和蓝色一起使紫色)和申请岬+定义阴影沿着水边。我必须道歉照片颜色差异再次——光在我的工作室是不同的在这个“阳光和阵雨”一天。在可能的情况下我照片在强烈的阳光下。
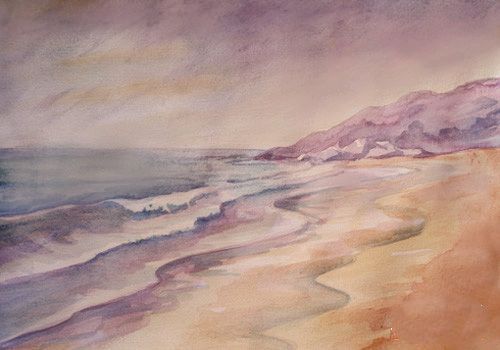
接下来我添加一些蓝色的水。你可以在这里看到的未拉伸的纸是应对不同地区的水分——不是很好,但是我会坚持下去,看看我能做些什么来解决它之后。
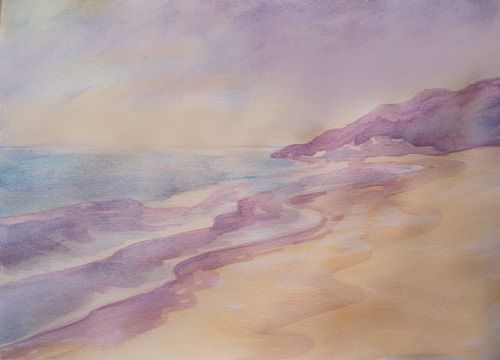
我继续定义,试图保持整体透明。这是不容易的!颜色倾向于干比他们看起来苍白时,应用湿所以津贴必须为这个。
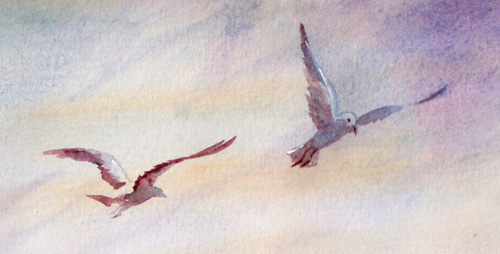
我很近,但这幅画缺乏生活。用一把小刷子我添加2海鸥为了增加趣味性。有一个不错的空气流通在他们周围的天空,我感到很高兴。
这是完成的结果可能有点重…这应该是深色的,但那是我的天性,我喜欢戏剧!
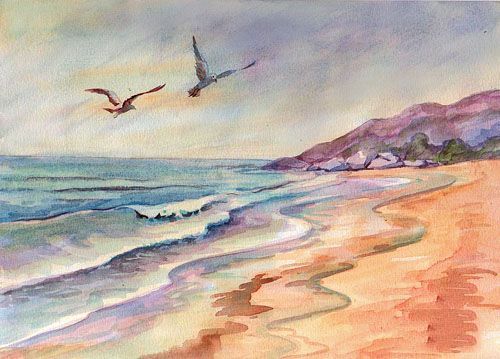
当它完全干燥,我烫它在错误的一边用热熨斗,将屈曲到几乎为零。它可能不是“适当的”程序当然,但这个博客是关于经验分享和互相帮助。
原文如下:
One lady emailed asking for a seascape demonstration in watercolour – so here is my effort. Now I am making this a combination of what to do and what NOT to do in that I am using 185 gsm paper in a pad and not stretching it! Let’s see what problems it brings and see if I can find a way out…
Wet the sky area with plain clear water ready to apply a wash. If you don’t do this you may end up with hard edges you don’t want.
I decide to apply a warm wash first to make sure I keep a sunny look…
It looks bright in the pan, but it is so diluted that when I apply it the colour is very soft.
While I have this colour handy, I apply it to the sand area as well, a bit stronger because it is in the foreground and colours are always stronger closer to you.
Oh oh – the paper is buckling somewhat so I put a minimal amount of the wash on the water and rocks to marry up the sky and beach and try to even out the wet and dry areas on the paper.
Next I mix a purply wash for the sky and apply it gently over the soft orange. The first wash needs to be thoroughly dry before you do this.
Once again, while I have this colour in the pan, I deepen it a bit (I am mixing red and blue together to make the purple) and apply to the headland + define shadows along the water edge. I have to apologise for photo colour discrepancies once again – the light in my studio is varying on this “sunshine and showers” day. Where possible I photograph in strong sunlight.
Next I add some blue to the water. You can see here how the unstretched paper is responding to the varying areas of moisture – not good, but I will keep going and see what I can do to fix it later.
I continue defining, trying to keep the overall transparent. It’s not easy! The colours tend to dry paler than they look when applied wet so allowances have to be made for this.
I am nearly there, but the painting lacks life. With a small brush I add 2 seagulls to add interest. There is a nice airiness in the sky around them – I am pleased with that.
Here is the finished result…probably a bit heavier than it should be in the darks, but that’s my nature – I like drama!
When it was completely dry, I ironed it on the wrong side with a warm iron which reduced the buckling to practically nil. It’s probably not “proper” procedure of course, but this blog is about sharing experiences and helping each other.


